Wednesday, February 4, 2015

Mandala Training Task Model #1

Mandala Training Task Model #1 from the Zimmerer Nationalmannschaft website. This Mandala task model was more of a challenge for cutting the 6 compound  cuts and 6 half lap cuts precisely than the geometry for the task model. The geometry for the task model only presented one challenge and that was for determining the line for the claw.  Normally, you would use a line parallel to the hip rafter run line for developing the claw line. However, in this task model the line is parallel to the claw line in plan view. I need to research this method to see if it works on other intersecting rafters.


Here I'm checking to make sure the half lap cuts allow for the rafters to line up directly over the geometric lines of the profile rafters. I finally got the last set of rafter cut precisely. I had to score a line a 1/32 next to the lines on the rafter to use as guide for the saw. I normally just score the lines, but the compound cut on these rafters forms a 'V' on one of the corners and I kept over cutting the rafter with the hand saw. After cutting the rafter with the hand saw I would then use a chisel to remove the wood to the line and then use a sanding block to make sure the compound cut formed a 90° between the two planes of the compound cut.


The first set of  rafters being assembled. I glued the half lap joints and then I glued the claws and added one pin nail to hold the rafters in place until the glue dried. 


Six rafters assembled and in place directly over the plan view of the task model.


For the top of the task model I glued up some 1x4 poplar  and then used my router to cut the circular top.
I haven't used my Ad Quadratum & Ad Triangulum router templates for a while. So I used the Ad Triangulum router template on the bottom of the table top. The Ad Triangulum symbol is 2 equilateral triangles rotated in a circle or the base for a hexagon, which this model is based on.


Line up the circle template where you want the  Ad Triangulum symbol .

Then inset the equilateral triangle template. 


Then flip the equilateral triangle template 90°. 


Here's an image of the PDF from the Zimmerer Nationalmannschaft website. They have a link to down load the task model drawings, but I can't seem to find it again.


I scaled this task model down to a 21" tall model. There's is a 42" tall task model.

Dimension for the task model
Radius -- 7 3/32"
Height 21 1/4"

Rafters
1 3/16" x 1 21/32"


Sunday, February 1, 2015

Ancient Knowledge Task Model #2

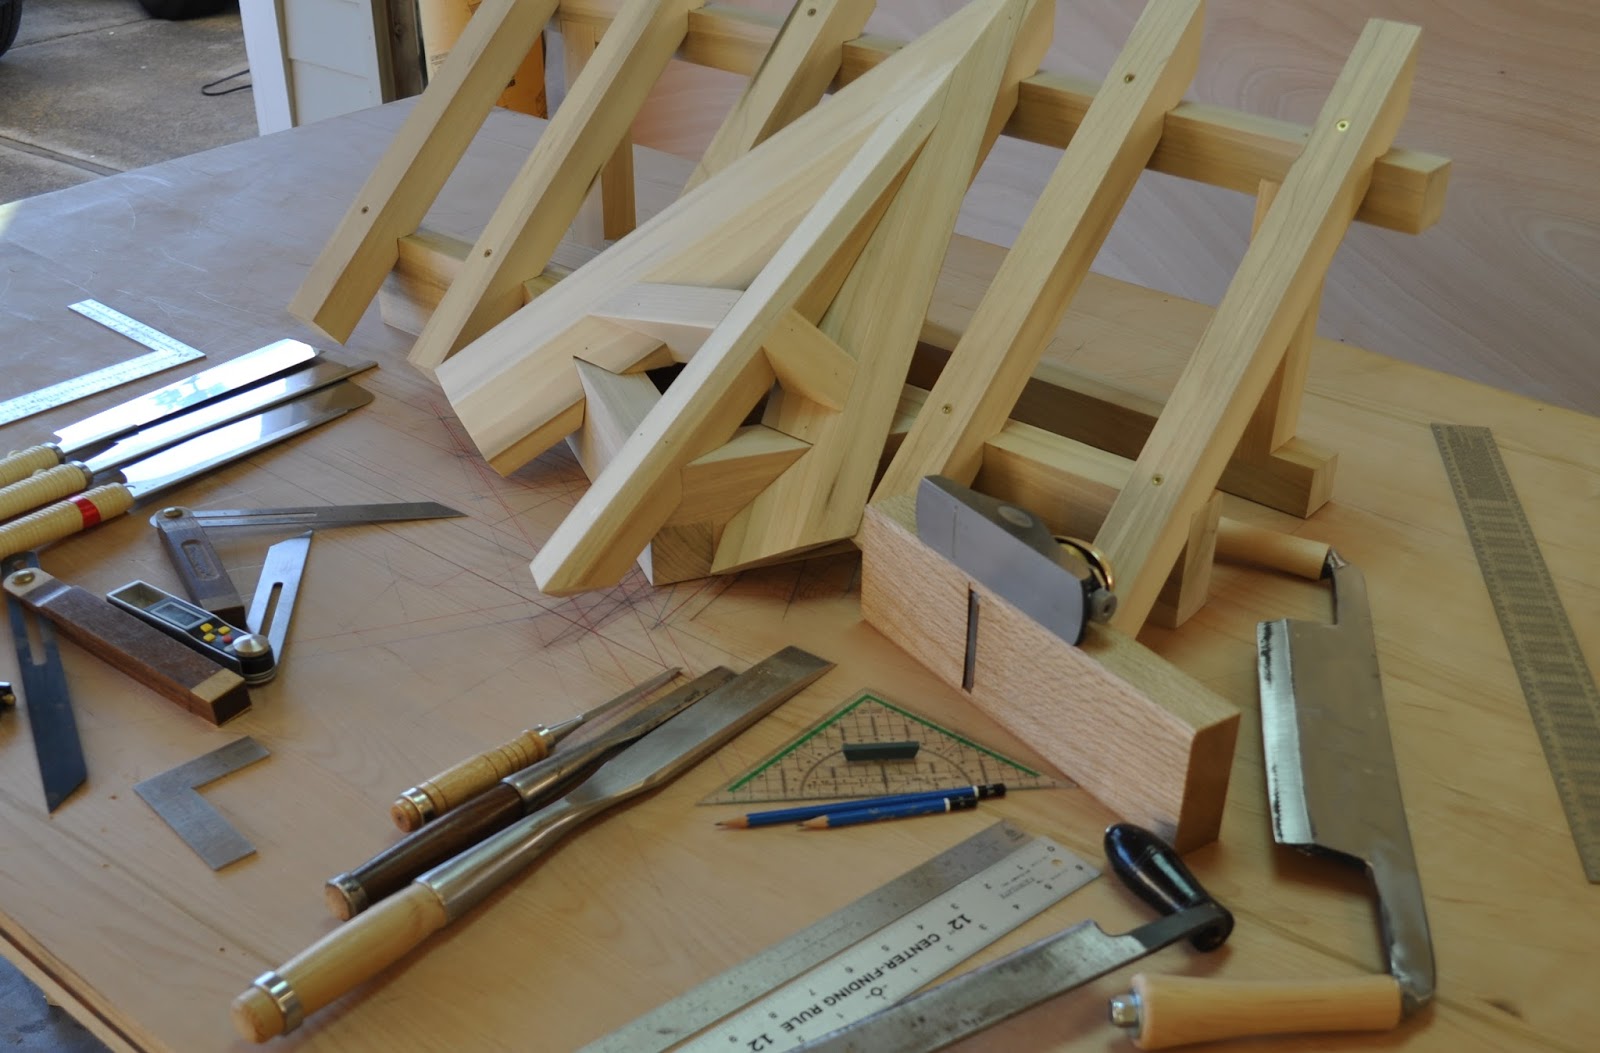
Finished the layover valley sleeper task model. The hip rafter fit better than I expected. The canted rafter on the left hand side of the task model was almost a perfect fit. It's fun when the geometric lines on the drawing board are drawn correctly and produce the results you're looking for. It's not so much fun when the the lines don't work on the timber. Here's some pictures of the completed task model and pictures of the tools it took me to build the task model. At this point the witches cut, Hexenschnitt, for the hip rafter is a no brainer. The witches cuts on the layover sleepers aren't that hard, as long as I'm paying attention to what line does what. The hardest part of the building the task model for me was using the draw knife and hand planes to edge bevel the layover valley sleepers and hip rafter.

I bought a new Japanese 2 13/16" smoothing plane. I still need to work on setting it up. The Japanese planes are not functionable until you set them up. Besides shaving down the side of the plane when the blade sits, you suppose to plane the bottom of the plane to make it perfectly flat. I'm hesitant on planing downing the bottom of the new plane. I could really screw that up. Oh, yeah, you're suppose to sharpen the blade 500 times at the same angle on the 5000 grit water stone. I got to about 100 strokes, before I thought it was sharp enough. I sharpened the new Barr Framing chisel on the 5000 grit water stone. It made the tip of the chisel shine like a mirror and is pretty sharp. I tried cutting the hair off my arm with the chisel and it removed the hair easily.  I also sharpened the Barr bench chisel Billy gave me and it's pretty sharp as well.


I bought a new Barr draw knife, but it's a little big for task models. I'll use it on a real hip rafter. I sharpened my old draw knife on the 5000 grit water stone as well. It's a long process to sharpen the draw knife. I use the Diamond Whetstones® fine 600 grit, coarse 325 grit, before I used the 5000 grit water stone. I still need to get a 2000 and 4000 grit water stone.


Here's a picture of the 3 saws I mainly use. The one on the right has about 28 teeth per inch. I start all the cuts with this saw. The one in the middle has about 25 teeth per inch and it has a wider blade. The one one the left has about 24 teeth per inch and dose not have a reinforced top arm for most of the blade. It's good for finishing off the cuts that the other two saws can't complete.


One of the main reasons I wanted to study this task model was to make sure I could develop the seat cut on the valley sleepers. The cuts are not perfect on the valley seats. I'm not sure if was my cutting or the geometry wasn't perfect enough.


This was great. The two valley sleepers edge bevel and the hip rafter edge bevel aligned perfectly. Each time I used the draw knife and plane to edge bevel the rafter it wore me out.


Drawing showing the geometric development for the lower claw on the canted jack rafter to layover valley sleeper.


Zimmerer-Nationalmannschaft Mandala Training Task Model

Zimmerer Nationalmannschaft , carpentry training in Germany posted some pictures of their Mandala training  task model.

Zimmerer Nationalmannschaft


There's several differents variations of the Mandala training task model, reciprocal roof. Here's my solution to task model number 1. I scaled this down to a 21" tall task model, from their 42" tall version. It should an easy first task model for anyone.


Journeyman Carpenters Examination

Bernd Kupper shared these photos and drawings on Facebook. I thought I would share the pictures and drawings for the German  Journeyman Carpenters Examination here on my blog so everyone can see what it takes to become a journeyman carpenter in Germany. My son Erik looked at these pictures and asked me why the Germans put so much emphasis on roof framing. I said you can train a monkey to frame walls or install floor joist or roof trusses. So the only things that are left to test on are roof framing, timber framing,building  stairs, interior trim or cabinetry.  I'm guessing the Germans have a test for those as well.

Bernd said this test was for the ones that failed last year. The roof framing task must be completed in 6 hours with hand tools only and geometrically laid out on the drawing table. In these pictures he said none of the carpenters completed the task.  The one task is missing the completed hip rafter edge bevel. Looks like he used his draw knife to edge bevel the hip rafter, but didn't have the time to plane down the edge bevel.

This task for the German  Journeyman Carpenters Examination has an unequal pitched hip rafter with a witches cut on the hip rafter tail. The jack rafter and purlin have lower claws.


Here's the drawing for the exam.
Here's the solution for the exam.

Here's a couple of pictures from the web for other task models that were used for the German  Journeyman Carpenters Examination. Each of these task model were allotted different amounts of hours to complete.