Crown Molding Tools for Android
Crown Molding Tools for Android has been updated with 6 new calculators. Installing rake crown moulding is complex, but these calculators will hopefully simplify the task.
- Calculate Horizontal to Rake Wall No Transitions
- Calculate Rake Wall To Horizontal at Corner Wall No Transitions
- Calculate Rake Crown to Rake Crown No Transitions
- Calculate Rake To Level No Transitions
- Calculate Rake To Level Return No Transitions
- Calculate Rake To Rake at Peak No Transitions
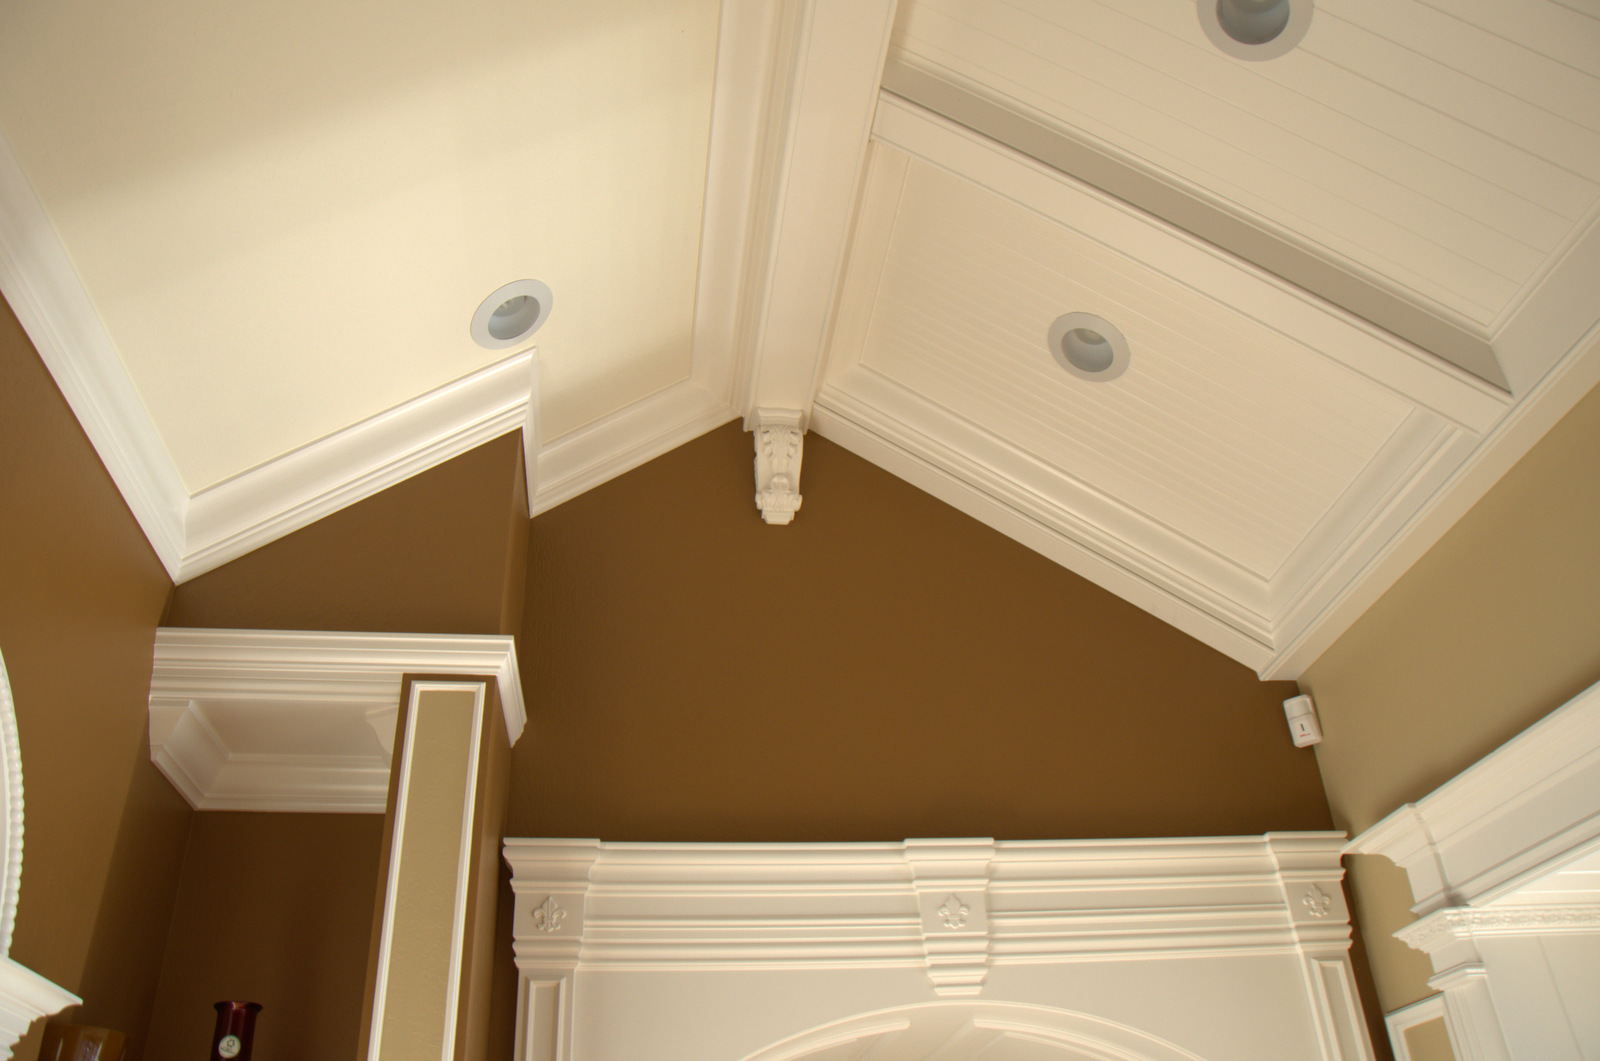
These pictures were taken at The Moulding Company in Concord California. The rake crown mouldings were installed by Christian Murtha.
All of the crown moulding should be back beveled to set tightly against the ceiling. Use the Crown Slope Reference Plane Angle to back bevel the top edge of all of the crown moulding.
Start with the lower horizontal crown moulding. Place the lower horizontal crown moulding against the wall and scribe the bottom of the crown moulding for a reference line. Draw parallel lines from the rake ceiling for the rake crown moulding. Do not use the same dimension as the horizontal crown moulding reference line for the rake ceiling reference line. These are parallel lines determined by the intersection of the bottom of the horizontal crown moulding with the rake ceiling wall.
Roof Pitch in Inches per Rise of Roof in 1 Foot of Run -- Roof Slope Angles
- 0.5:12 = 2.38594°
- 1:12 = 4.76364°
- 1.5:12 = 7.12502°
- 2:12 = 9.46232°
- 2.5:12 = 11.76829°
- 3:12 = 14.03624°
- 3.5:12 = 16.26020°
- 4:12 = 18.43495°
- 4.5:12 = 20.55605°
- 5:12 = 22.61986°
- 5.5:12 = 24.62356°
- 6:12 = 26.56505°
- 6.5:12 = 28.44293°
- 7:12 = 30.25644°
- 7.5:12 = 32.00538°
- 8:12 = 33.69007°
- 8.5:12 = 35.31121°
- 9:12 = 36.86990°
- 9.5:12 = 38.36749°
- 10:12 = 39.80557°
- 10.5:12 = 41.18593°
- 11:12 = 42.51045°
- 11.5:12 = 43.78112°
- 12:12 = 45.00000°
- 12.5:12 = 46.16914°
- 13:12 = 47.29061°
- 13.5:12 = 48.36646°
- 14:12 = 49.39871°
- 14.5:12 = 50.38931°
- 15:12 = 51.34019°
- 15.5:12 = 52.25319°
- 16:12 = 53.13010°
- 16.5:12 = 53.97263°
- 17:12 = 54.78241°
- 17.5:12 = 55.56101°
- 18:12 = 56.30993°
- 18.5:12 = 57.03060°
- 19:12 = 57.72436°
- 19.5:12 = 58.39250°
- 20:12 = 59.03624°
- 20.5:12 = 59.65675°
- 21:12 = 60.25512°
- 21.5:12 = 60.83239°
- 22:12 = 61.38954°
- 22.5:12 = 61.92751°
- 23:12 = 62.44719°
- 23.5:12 = 62.94940°
- 24:12 = 63.43495°
Key Words:
Cathedral ceiling rake crown molding miter and bevel angles
Vaulted ceiling rake crown molding miter and bevel angles
Sloped ceiling rake crown molding miter and bevel angles
Cathedral ceiling rake crown molding miter and bevel angles
Vaulted ceiling rake crown molding miter and bevel angles
Sloped ceiling rake crown molding miter and bevel angles


No comments:
Post a Comment
Note: Only a member of this blog may post a comment.